
What’s that old saying? There’s more than one way to skin a cat? Pottery glazing techniques are hard to quantify (there are seemingly endless possibilities and combinations), but there are some notable tried and true methods to consider for best results in the kiln. Here are our top 7 pottery glazing techniques, to inspire you in the studio.
4 Tips For Preparing Pots For Glazing (this applies to all of the pottery glazing techniques we cover below)
Regardless of the glazing technique you intend to use, there are a few things you should do before you begin to glaze. Taking the time to complete these steps will ensure the most consistent results.
- Start with clean hands
- Clean your bisqueware with a damp cloth or sponge and allow to dry
- Clear your area of debris to avoid contamination of glaze
- Cover up! This should go without saying, but glazes will ruin your clothes… so wear a potter’s apron.
Preparing the glaze:
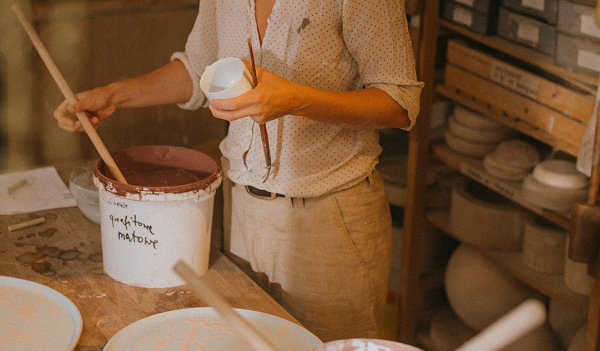
For any of the following methods, you will want to prepare your glaze for application. To do this, it must be well mixed and tested (and possibly adjusted) for thickness. Here is a great rule of thumb video (from Jon The Potter) for testing to see if your glaze is the right consistency, including several ways to ensure your glaze is prepared for best results.
What are the 7 methods of applying glaze?
Top Pottery Glazing Techniques:
1. Dipping Method
Recommended tools: pottery tongs
Steps for dip style pottery glazing technique:
- After preparing the pot and the glaze, you’re ready to dip! Note – depending on the piece, and how you plan to dip it, you may need to use a wax resist on the bottom/foot of the pot to prevent glaze from adhering where you don’t want it.
- Note: If you are going to be glazing both the inside and outside of a piece, you should glaze the interior first. This inolves pouring the glaze into the inside of the piece, rotating it around for desired coverage, and pouring off any excess.
- Assuming you’re ready to glaze the exterior of your piece, you ready to dip! Using your fingers around the base of the piece (or a set of pottery tongs), get a strong grip on your item and carefully submerge the piece into the glaze. Be careful to do this step slowly to avoid splashing and air bubbles.
- Carefully rotate the piece in the glaze to ensure an even coating.
- Remove from glaze and allow excess to drip off.
- Set aside and allow to dry (which should take under a minute).
- Once dry, you can fix any overly thick areas by carefully removing excess glaze with a sponge or your finger. You can also use a sponge to clean up the glaze and ensure the bottom of the piece is clean before firing.
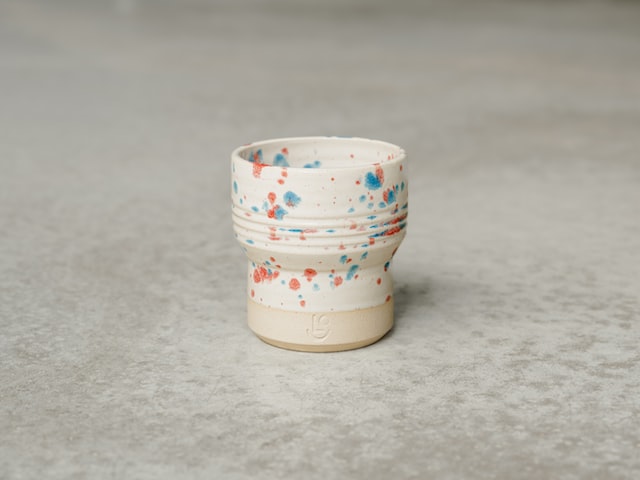
2. Spraying / Splattering Method
Recommended tools: banding wheel, spray gun
Steps for spraying/splattering glazing technique:
- After preparing the pot and the glaze, you’re ready to splatter or spray! Note – this process works nicely on an already dip-glazed piece, when you want to add contrasting color detail to the initial glaze.
- For even coating of sprayed glazed (and ease of splattering with the least amount of handling), place the piece on a banding wheel, so you can roatate it for an even application around the whole pot.
- While rotating your piece on the banding wheel:
- If splattering: use a brush to dip into glaze and splatter by running fingers across the brush, while held close to your piece, allowing the drips to splatter onto the piece in the desired areas. It is best to use a firm bristled brush for splattering.
- If spraying, load your spray gun with glaze and steadily spray your pot in thin layers (allowing each layer to dry between coatings) until the desired thickness is achieved. Note: you may have to rinse components of the spray gun to keep glaze particles from clogging the sprayer.
- Once dry, you can fix correct any areas that need attention before firing.
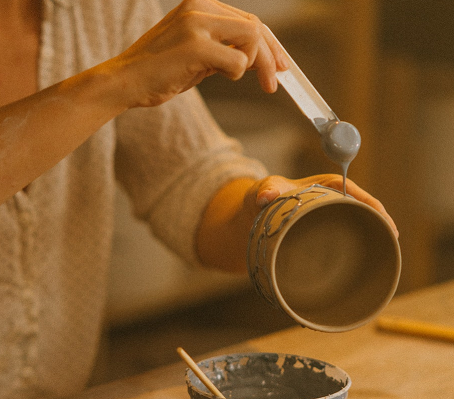
3. Pouring / Dribble Pottery Glazing Technique
Steps for pour/dribble glazing technique
- Once you have prepared the glaze and pot, you’re ready to decorate with the pour/dribble method! Make sure that the interior of your piece is already glazed, and you have applied your initial glaze to the exterior (by whichever chosen method). Note: the process described here for dribble glazing is intended for using pouring/dribbling as a decorative glazing technique on an already glazed pot.
- Use a small plastic scoop or large spoon to collect a bit of glaze. You might practice your pouring speed and technique over the glaze container before trying it on a pot. If you wish to pour glaze over a larger portion of the pot, you may use a bowl instead of a scoop/spoon.
- Once you have practiced your dribbling, hold your piece with one hand and dribble with the other. This will allow you to rotate the piece while pouring – so you can reach all sides of your piece.
- Allow to dry, and correct any imperfections before firing.
4. Brushing Method
Recommended tools: banding wheel, a soft, wide brush
Steps for brush glazing technique
- Once your glaze and pot are prepared for glazing, place your piece on a banding wheel if desired. This will allow you to coat it while rotating. You can also simply hold it and rotate it manually as you paint.
- Distribute the glaze in smooth, long strokes across the pot surface for best results.
- Repeat coats, allowing each to dry, until you reach the desired glaze thickness.
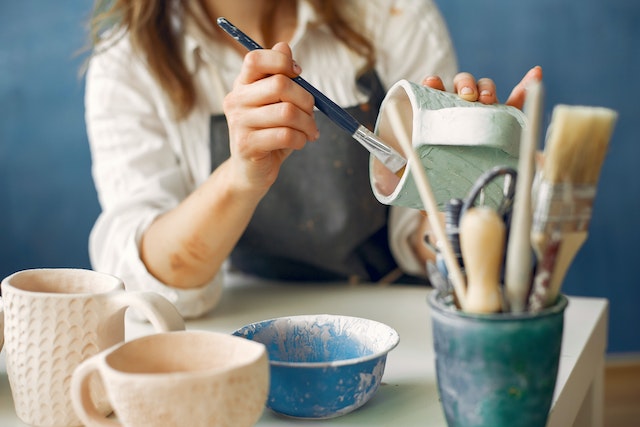
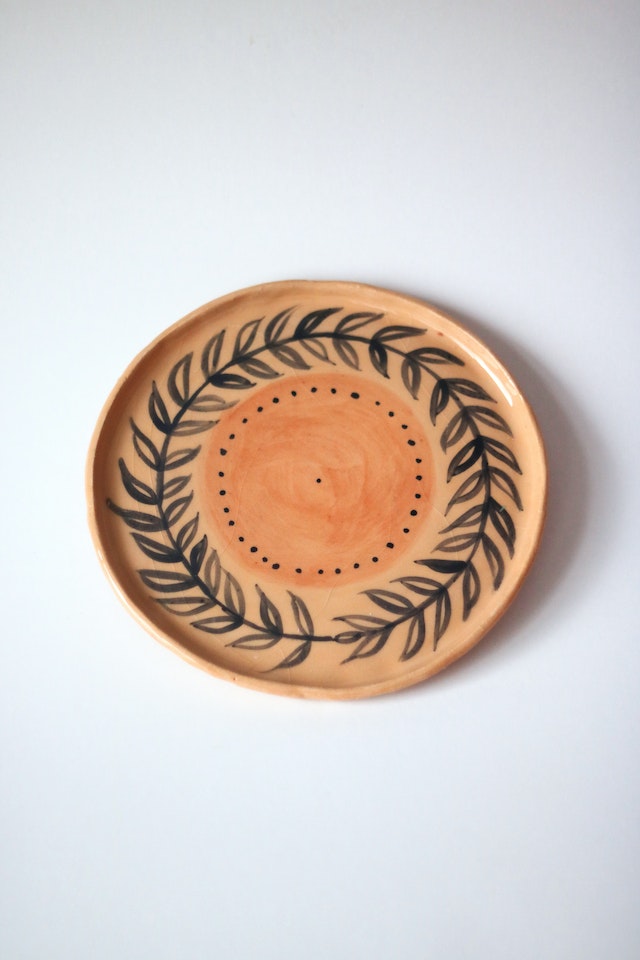
5. Painting Method
Recommended tools: small tipped brush, banding wheel
Steps for paint glazing technique
- Begin with an already glazed piece, using the painting method to apply additional decoration to the rim or exterior of a piece.
- Much like the above (brushing method), you will simply paint the desired design onto the existing glaze surface, being careful to brush softly so you don’t disturb the first layer of glaze.
- A small tipped brush works well for this method, when you’re doing more detailed designs. You can use a banding wheel if you’re trying to add banding stripes around the entire piece.
6. Stamping Method – A Technique For Pottery Glazing
Recommended tools: pieces of sponge or rag scraps
Steps for stamp glazing technique
- You will typically glaze the interior of a piece (and possibly have an initial coat of glaze on the exterior as well, depending on the look you are going for).
- Dip a bit of sponge or rag into the desired glaze. This is just a suggestion… you could use any number of items to ‘stamp’ glaze, for an almost infinite number of possible shapes and textures. Get creative!
- Carefully stamp the glaze onto the surface of the piece, to create the desired pattern. Contrasting glaze colors are ideal!
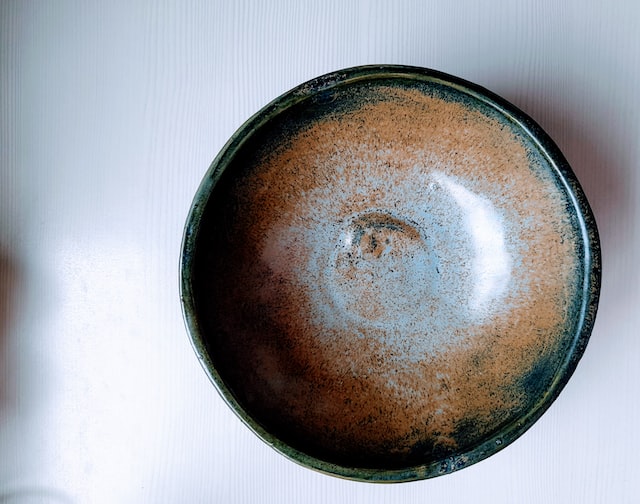
7. Resist Glazing
Recommended tools: wax resist, brush (size and shape selected based on the design you’re after)
Steps for resist glazing technique
- You’ll typically want to glaze the interior of your piece first. Once that’s complete, you simply use a brush to apply wax resist in the desired pattern on the exterior surface of the piece. This will keep the glaze from adhering in the areas where the wax resist is applied… sort of a reverse glazing patter.
- Once the wax resist has fully dried, use a pour or dip method to complete the exterior glaze.
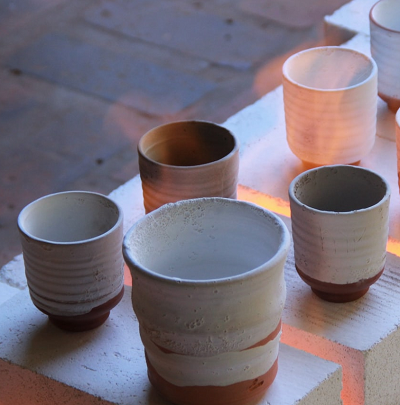
- The finished pot will show a combination of raw clay and colored glaze once fired (see last photo in the above gallery, as an example!)
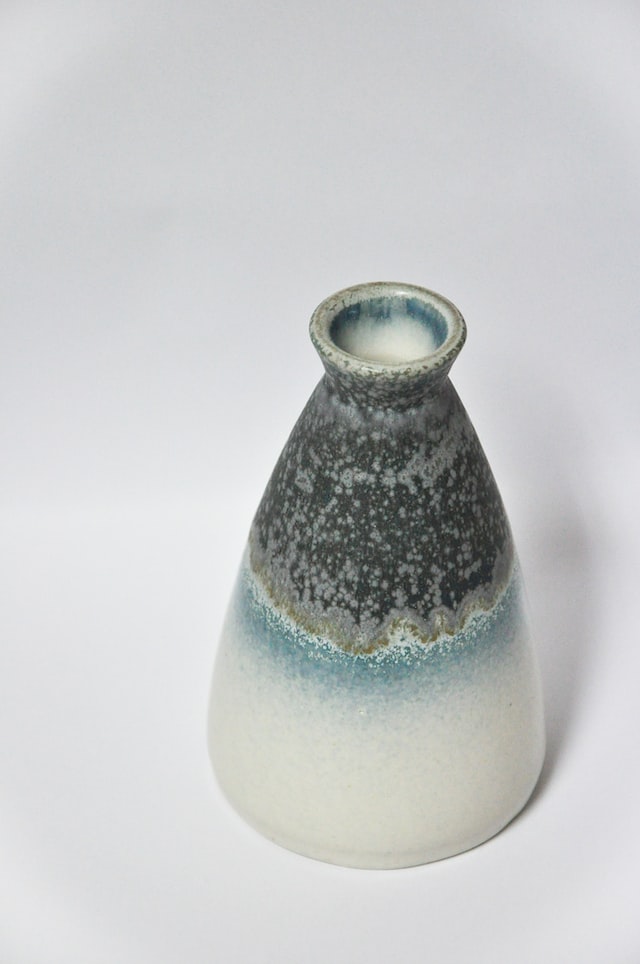
8. Layering Method
Steps for layered glazing technique
- Start with the interior of your piece already glazed.
- Use the dip method to apply the main glaze color to the exterior.
- Once dry, you can re-dip a portion of the piece in the second color of glaze. If you do so only near the top of the piece, the rim and upper areas will show a beautiful combination of the glaze colors, adding visual interest to your piece.
- See the lower left-hand-vase image in the gallery above as an example.
What are the 6 types of glazes?
A Note About Lead Free (and Food Safe Glazes): If you intend to use your pieces for food or drink, it is essential to ensure that your glaze is rated food safe. This goes across any of the following glaze types, but since it is a safety concern, it’s worth mentioning as a reminder. You will also want to avoid any metallic ingredients if you want your piece to be microwave safe. When in doubt, check the ingredients of a glaze to be sure!
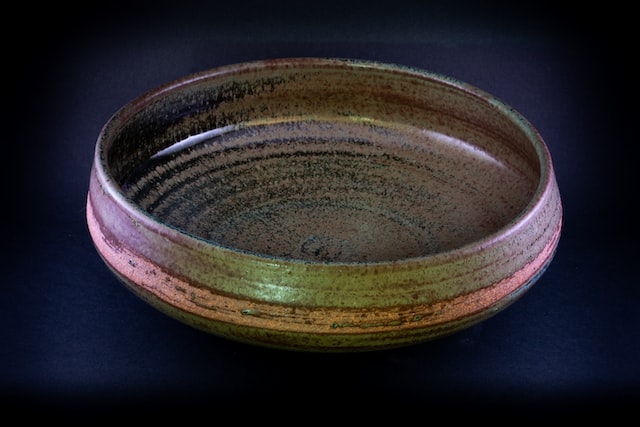
Classic Glaze
Classic glazes are glossy in finish and come in a very wide array of colors. These can also be self-mixed, and there are recipes for homemade glazes in several of my recommended books for Potters. A classic glaze can be applied in varying ways, layered, etc. to accomplish different finished looks.
Matte Glaze
If you’re not after a shiny/glossy look, you’ll want to search specifically for Matte-finish glaze. You can assume a glaze will be shiny/glossy if it is not otherwise specified.
Crackle Glaze
Just as it sounds, this is a category of glaze that it intended to crackle when fired. This creates a visually interesting effect, and there are lots of different colors and variations of crackle glazes available.
Floating Glaze
Floating glazes are applied as a single glaze, but give the appearance of two different colors when fired. Best used on pieces with texture, one color tends to cling to the raised parts of the texture, while the other color settles onto the rest of the piece. The outcome varies from two starkly different looking colors, to differing shades of the same color family (depending on the glaze). You can browse some great floating glaze options here.
Raised Accent Glaze
This type of glaze will not settle into the surface of the piece… it is intended to stand up as a raised detail, even after firing. This type of glaze is best applied using the painting or stamping technique, and will bring added texture to your piece. Available in a wide variety of colors, this type of glaze can be especially fun for children.
How many layers of glaze should you apply?
The possibilities are endless when it comes to glazing, so there is no right or wrong answer, just artistic experimentation – as with any artistic craft. The main rule of thumb in layering is to keep the glaze from becoming too thick overall. You can have thick areas, but you need to consider how much a particular glaze is likely to run when layering. Too much or too thick, and your glaze will end up on your kiln shelves instead of your piece.
Important rules when glazing ceramics:
It’s important to mention that anytime you are working with glazes, you should wear protective gear. This includes gloves when dipping and a protective mask (especially when mixing glazes with dry materials that can be inhaled in dust form. Keep your studio well ventilated and use common sense when it comes to hazardous materials.