When you’re just starting a pottery hobby, it’s helpful to go into it with tips from long time potters. I’ve curated the best advice and pottery tips for beginners from several online threads like Reddit.
The following are my paraphrased and summarized translations of the most frequent and helpful tips for aspiring potters.
Pottery Tips – My Favorite Advice For Aspiring Potters, Boiled Down From Reddit Threads
You can spend countless hours pouring over pottery threads on sites like Reddit and Quora… but sometimes the advice is repetitive (or simply no good). As a long time potter, I’ve rounded up my favorite pottery tips for aspiring potters. These tips are the result of pouring over many pottery threads over the years, and represent my top 5 pottery tips for beginners. I’ve summarized the most important considerations, and boiled advice from threads down into a ‘top 5’ format.
I hope these tips will not only save you time, but also set you up for success in the studio!
Pottery Tip #1:
Don’t Attempt To Buy Your Own Equipment When You’re Just Starting Out
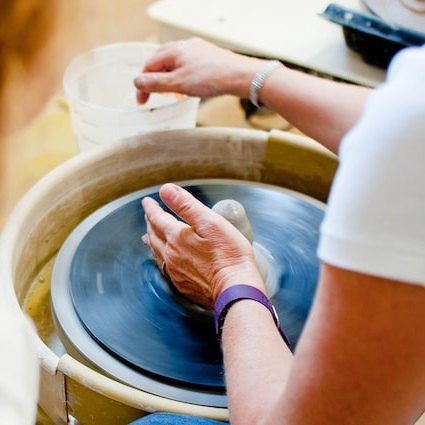
Take a class and use community tools and equipment when you’re just starting out… resist the urge to splurge on home studio equipment when you’re a beginner. Studios and classes will generally provide everything you need for success as you’re learning. This will save you LOADS of time and money as you hone your craft, and decide if this is a hobby that will stand the test of time. Dabbling in pottery at a community studio is the best way to test the waters, because to complete a home set up (even without a kiln) can run you easily into the $1,000’s of dollars.
But, trust me… it’s easy to be tempted to purchase equipment of your own! You may find yourself googling to find the best pottery wheels, and looking for nooks and crannies in your basement or garage where you could set up a small pottery studio. My advice is to resist the urge to do so too soon. Over time, your skills will improve dramatically, and you’ll know whether you want to make the investment (which is sizable) for a wheel and home studio space. A wheel that works for you now might not handle the clay capacity you’ll be working with in the future. Hold off and be sure to make an informed and quality purchase (as opposed to shopping for a bargain / low end wheel, just to have one of your own).
If you simply can’t resist the urge to have a few items of your own, you might consider these Potters Aprons or an affordable pottery bag to house your throwing tools as you purchase them over time. Otherwise, we say save your money for classes and studio memberships until you’re certain that you’re in it for the long haul.
Pottery Tip #2:
Don’t Be Afraid To Channel Your Inner Elsa, And ‘Let It Go’
Let that freshly thrown form GO! That incredibly thick and heavy bottomed cylinder you just threw? The wonky, thin edged creation that kind of resembles a bowl? TOSS THEM and then have another go.
Let go of the vast majority of the forms you throw when you’re just starting out. Trust me.
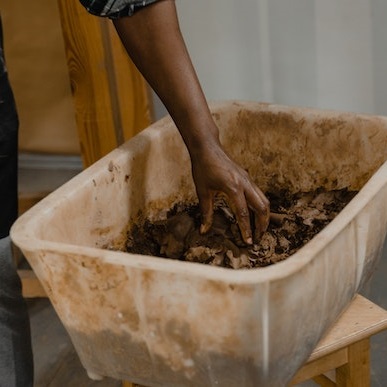
Having a finished piece of pottery that makes it through the entire process is exciting and keeps you motivated. But that doesn’t mean that every creation needs to be memorialized in the kiln. Save only your very favorite forms for the whole process (from trimming to bisque firing to glazing and finally having a finished piece). The rest should be destined for the pug mill as you focus on fine tuning your throwing skills.
Being willing to spend time throwing to LEARN and IMPROVE should be your goal as a beginner. You might not have a lot to show for after your first round of classes. And that’s okay! But we know as time goes on, you’ll be glad you don’t have a large collection of heavy, thick bottomed dog dishes headed for the landfill.
Yes, you need to keep a few items so that you can learn the basics of trimming and glazing. But don’t be so attached to your creations that you’re unwilling to get acquainted with the recycle bucket.
Pottery Tip #3:
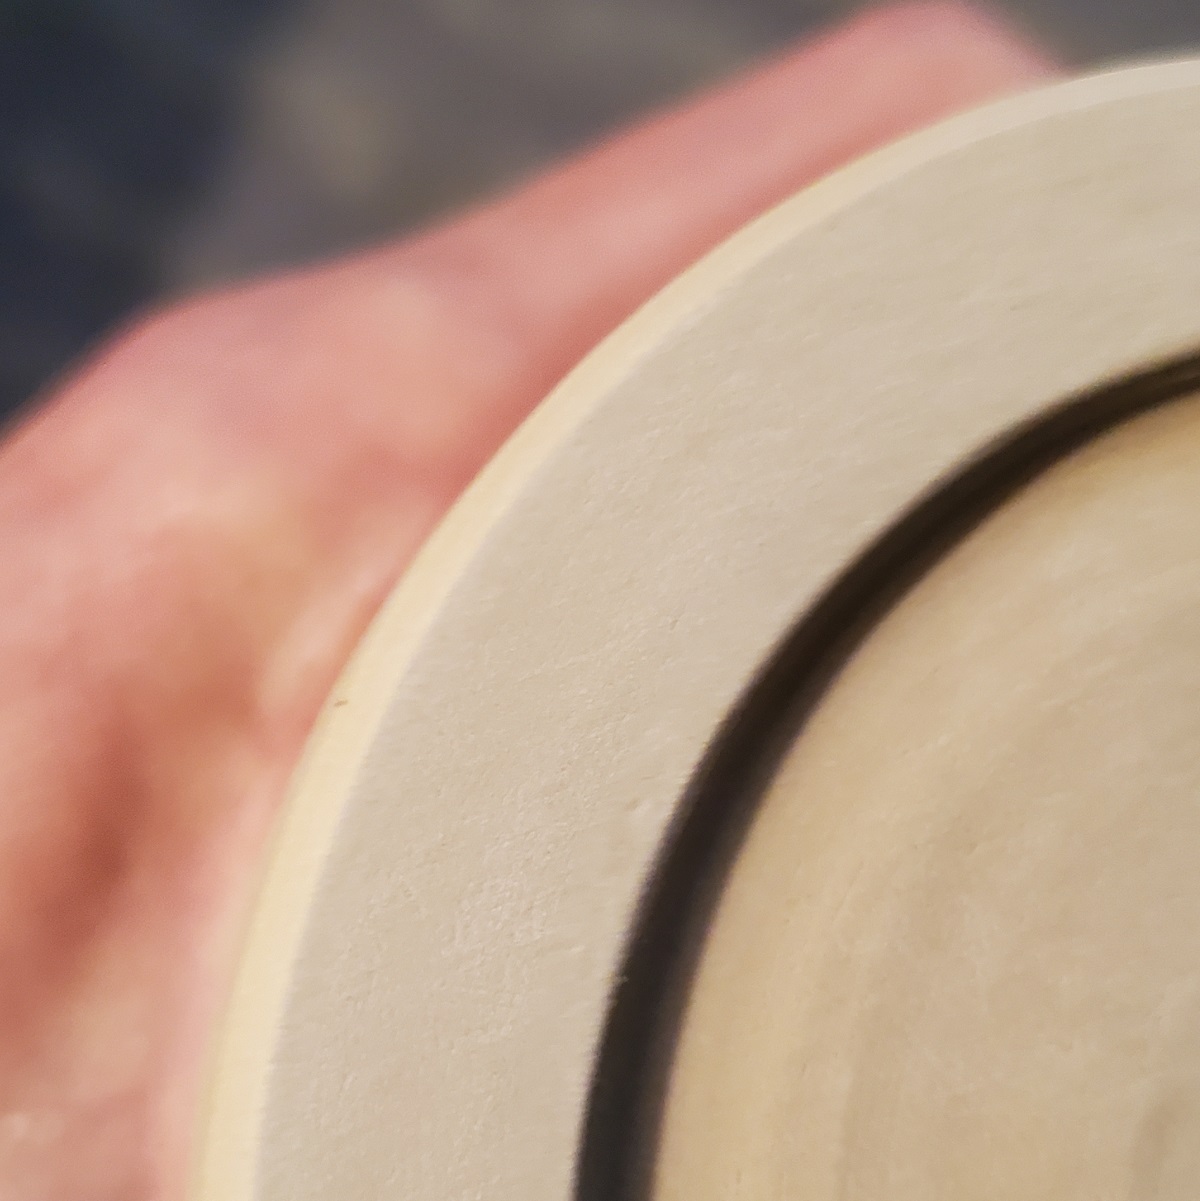
Trimming Is Your Friend – Spend The Time To Learn To Do It Well
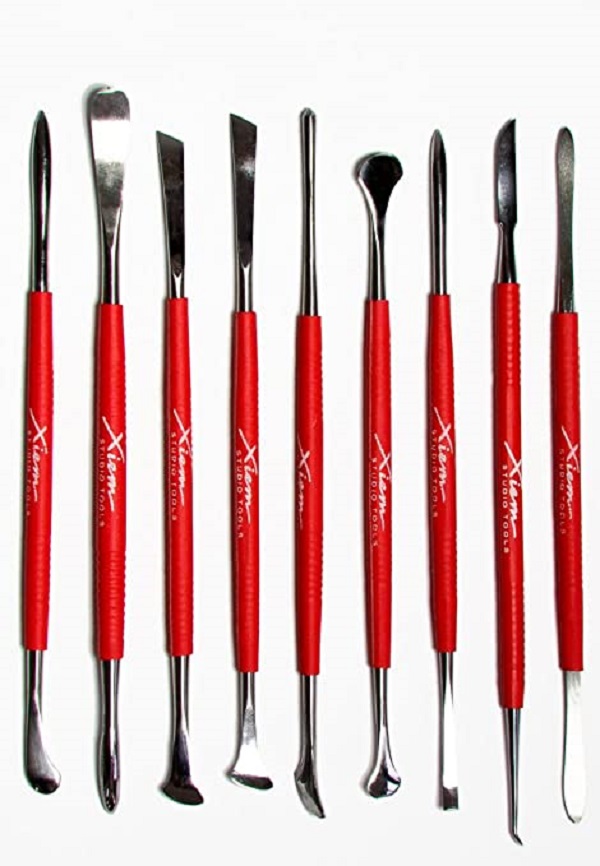
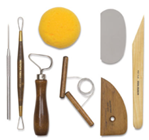
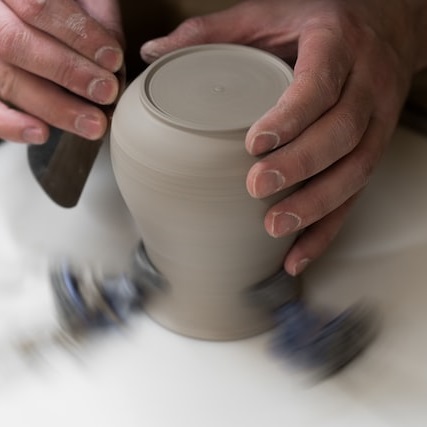
Trimming and shaping can take a mediocre form and turn it into an appealing piece that’s worth finishing! Learn to trim and shape, and spend time practicing these skills! You can let some pieces dry to leather hard (with no intention of firing them) particularly for this purpose. Experiment with different trimming tools and techniques to learn what works best for you.
Some of the hallmarks of a quality thrown form are uniform thickness, appealing shape, and a nicely finished foot rim. The skills required for these finishes take time to perfect. A lot of time. So be patient, and practice your craft! Expect to make some mistakes and ruin some pieces. It will make the successes all the sweeter.
Once you know the style of trimming tools that you like to work with, you might slowly begin to invest in a set of your own. We have some great options in this roundup. But there is no harm in sticking with the community tools and practicing on all of your wonky forms to help refine your skills. Even if most of those pieces are crushed and dropped into clay recycling bucket.
Pottery Tip #4:
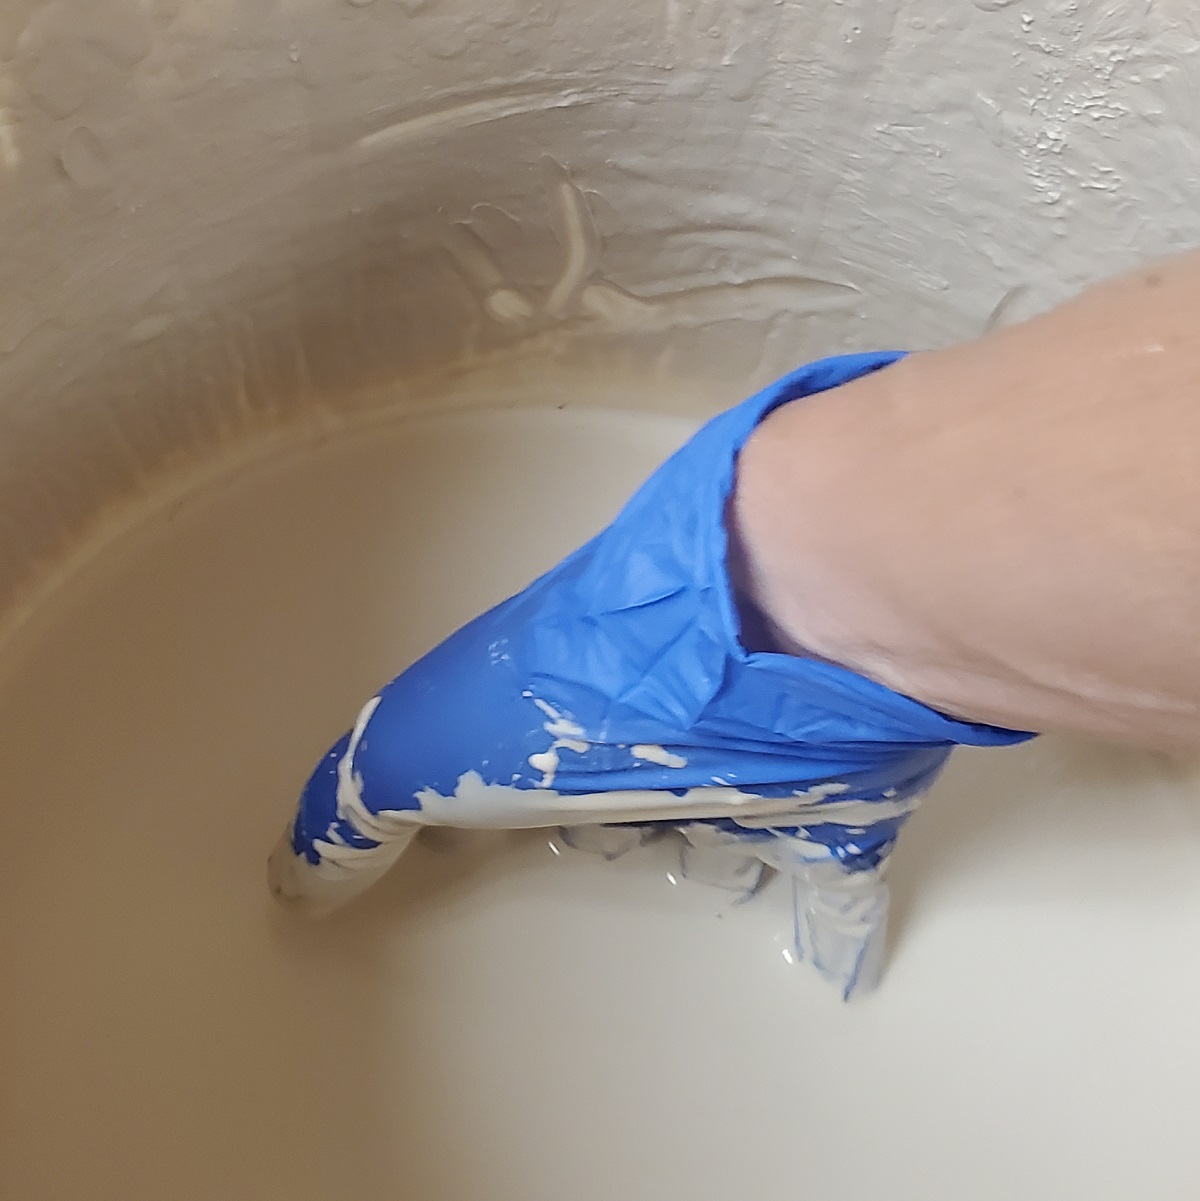
For Great Glazing Results, Use A Dip Technique When You’re Starting Out
Dip glaze. And get good at it.
The way you glaze your forms for their final fire can make-or-break how the finished piece turns out. Our advice in this department is simple. Get good at the dip glaze method. This will help you achieve the most predictable results as a beginner, and help you accomplish a more appealing end result.
Over time, you can experiment with other glazing techniques. But in the beginning, it’s a shame to have a piece make it all the way through the trimming and bisque fire, only to be disappointed in the final glazed result. You’ll learn how thick the glaze coat should be, which glazes run, which combine nicely and which don’t. But if you dip glaze, you’ll have the best chance of relatively uniform coverage and consistent results when you’re starting out.
Pottery Tip #5:
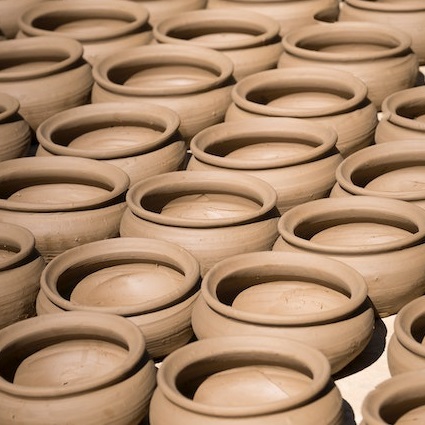
Make Multiples Of The Same Thing As A Way To Fast-Track Your Skillset
This advice may seem counter intuitive (don’t you want a wide range of skills)? But at the wheel, it’s helpful to operate a bit of a production line. Throw 5 cylinders in a row, and only keep your best one! Then do it again. We’ll bet this has you growing in skills faster than sitting down to throw a plate, followed by a dog dish, and then attempting a bowl.
Throwing the same shape many times in a row will help you to quickly learn which techniques work best for you. It will also, by default, allow you to see how quickly your forms improve (and why you want to follow the advice in pottery tip # 2 above).
It’s really that simple. Choose one form (a cylinder is usually a good place to start). Then throw it again and again and again. This is how the professionals do it, even after YEARS of experience. If you want to improve quickly, think like a production potter.
Once you feel confident in your cylinder forms, move on to a small bowl, and so on. Chances are you’ll have some nice ‘keepers’ along the way… and you will avoid carrying bad habits along for the ride as you progress through various shaped vessels.